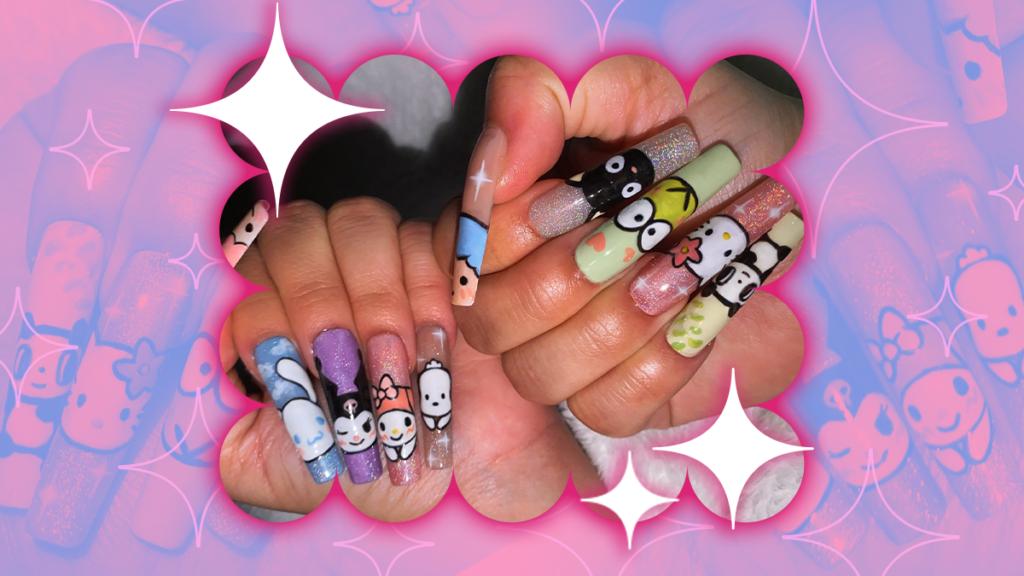
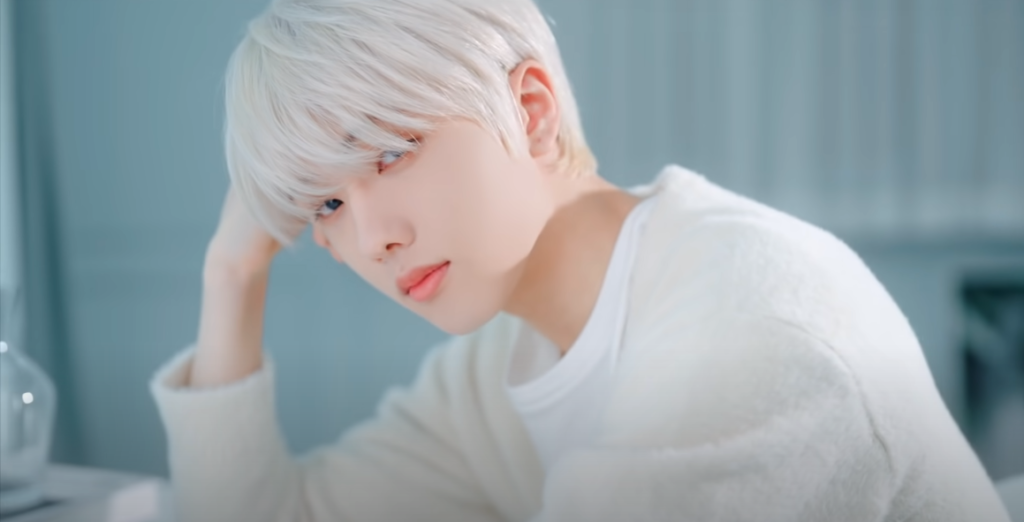
Trying new nail designs is a way of expressing ourselves and our interests. While scrolling through social media, it is very common to see nail sets dedicated to popular millennial childhood TV shows and characters! In honor of the iconic SANRIO characters, I dedicated my first set of summertime nail art to some of their popular characters. After creating these nails, it was later announced that the K-pop group, NCT, will be doing a collaboration with SANRIO. Even more reason to attempt your own nail set to match your favorite Neo(s) and their SANRIO characters.
Go With The Flow
One of the best parts of doing your own nail art is being able to go with the flow. Originally, I was only planning on doing one or two characters, like Hello Kitty or Cinnamoroll, just to practice nail art. After testing out the first character, I decided to do a different SANRIO character for each finger. There wasn’t a real plan as to which character was going on which nail, I just painted however I was feeling.
On the left hand is Lala (thumb), Cinnamoroll (index), Kuromi (middle), My Melody (ring) and Pochacco (pinky).
On the right hand is KiKi (thumb), Chococat (index), Keroppi (middle), Hello Kitty (ring), and Pannapitta (pinky).
We Love DIYs
There are several different ways to begin with nail art, and hundreds of brands of supplies. Find what appeals to you best, but always make sure to read the reviews before purchasing.
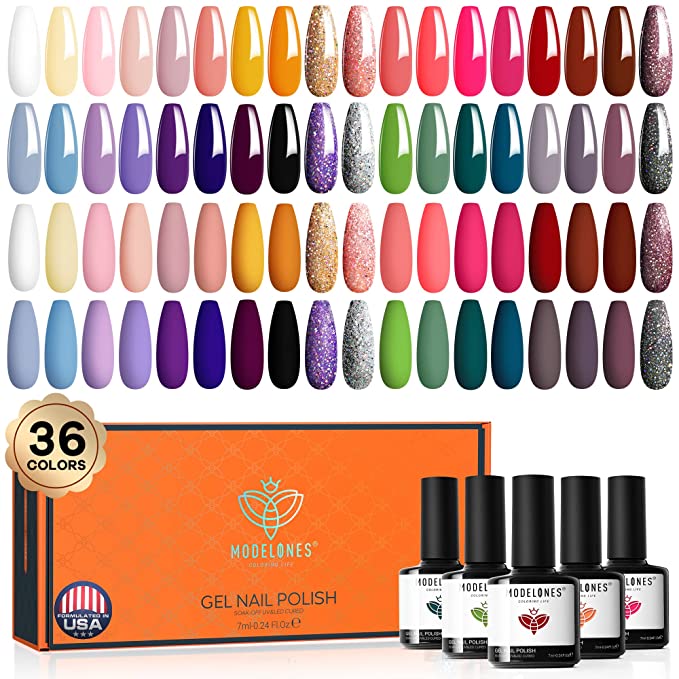
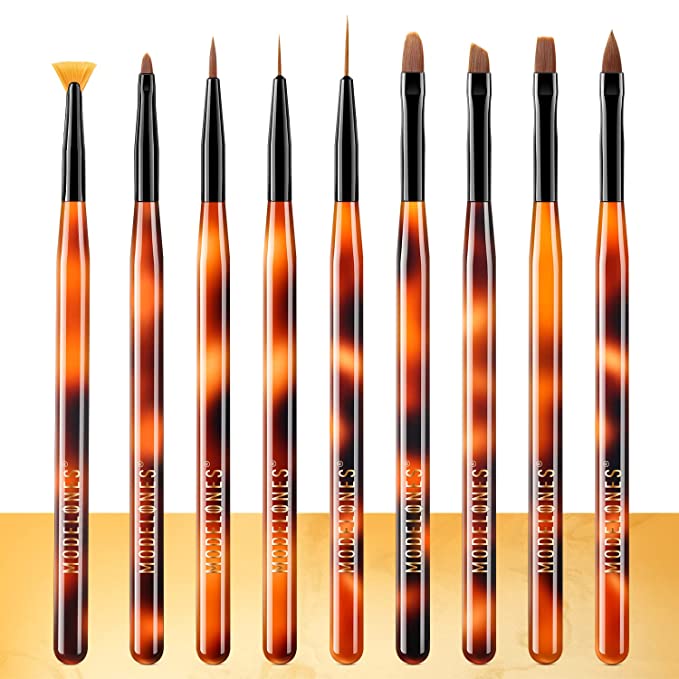
When doing nail art, one of the most important details is making sure to have the proper brushes. I used the Modelones nail art nine piece brush set. The right brushes will allow you to have the best control over painting, which helps with the line art or outlines. Other essentials are black and white nail polish, which are important for underpainting and the line art of your designs. This SANRIO set was created using all Modelones gel polishes.
For those attempting nail art and character designs for the first time, or for those who want to try a different technique, here is the method I used:
The first thing to do is prep the nails. Before painting, it is essential to buff the surface of the nails. Buffing gives the nail surface texture so the polish better adheres to it. The nails used for this set are full cover acrylic square tips in XXL. If not, you run the risk of your polish lifting or peeling right off. Once you finish buffing, apply your gel base coat and cure it under a UV lamp for 15-30 seconds. The term “cure” refers to the gel polish hardening from the UV rays.
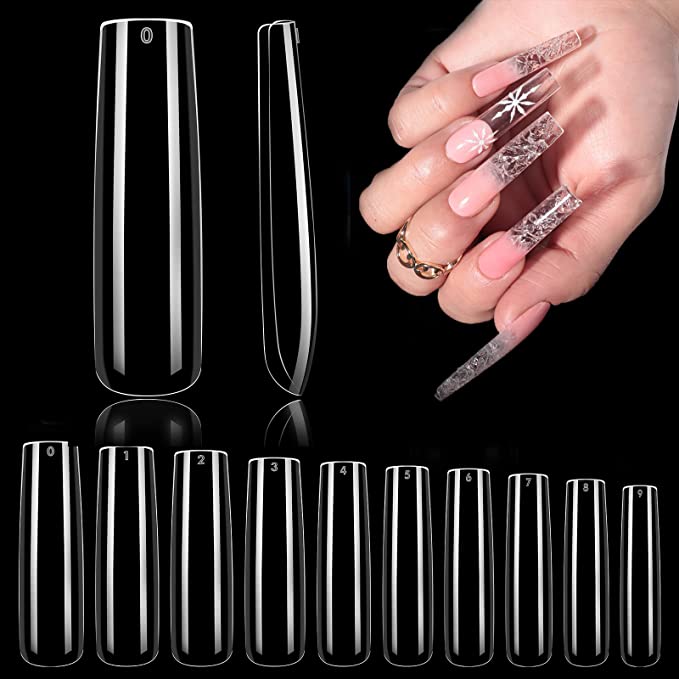
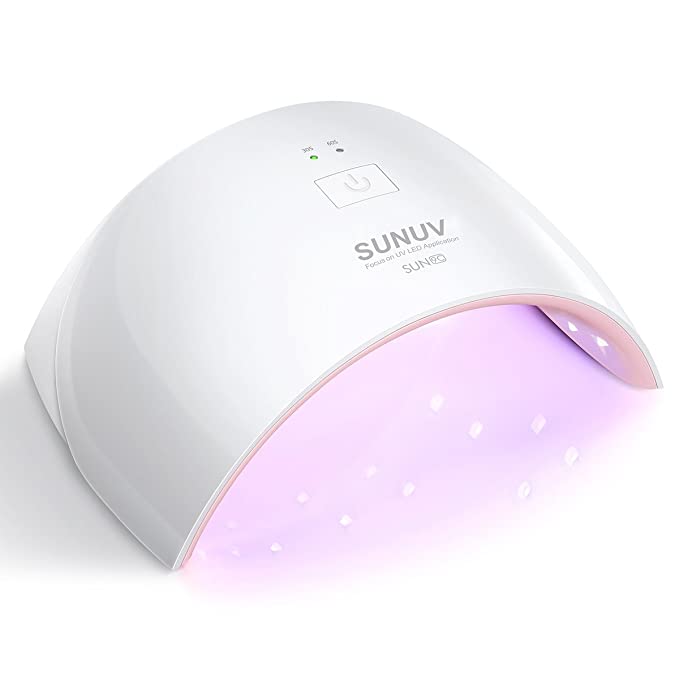
Once you picked and painted your background color, use the white polish as a guide for the character—think of it as sketching a drawing. From here, this is where you can start to lay down base colors. This works as a guide for when you go in with the black polish for the line work. If you feel more comfortable going in with the black line art first, feel free to do that! Once the gel polish is cured, you can paint over the black lines with the base colors.
To achieve certain colors that may not be included in a polish set, like Keroppi’s skin tone in this example, you can mix different polishes together. For help with achieving specific colors, there are tutorials on YouTube to refer back to.
Practice Makes Perfect
As summer activities ramp up, save your money and customize your look by doing your own nail art. Remember that anyone is capable of doing nail art! Just like with any creative medium, practice makes perfect. Do not feel discouraged if it doesn’t come out perfect the first time! The more you practice, the more progress you will make and the more confident you will get in your craft!
Want more beauty content? Check out our article covering 9 SPF-Infused Tinted Moisturizers and Skin Tints for Dark Skin, here!
